If you’re a planner girl, you already know what I’m talking about when I mention planner bookmarks. They’re literally everywhere these days. For those who are unfamiliar, you can buy bookmarks and page tabs so you can easily turn to certain sections of your planner or so you can mark places you want to go back to for reference. I typically use one in my planner to mark the particular week that I’m on.
These planner bookmarks are super easy to DIY on your own and you can also use them as regular old-fashioned bookmarks as well. They make great gifts and since you can whip them up in hardly any time at all, make a bunch for your planner friends while you’re at it.
I’m going to share a few different ideas when it comes to making these bookmarks, with varying levels of rigidity and strength. If your planner or book(s) spend most of their time on the counter or on a bookshelf, you can choose the paper only option. If you regularly toss your books and planner in a bag, choose the laminated option.
So, let’s go!
How To Make Planner Bookmarks
Option One
You will need:
Acrylics
Paintbrush
Paper (I used paper from an old book)
Gel pens
Scissors
Paperclip(s)
Hot glue gun and glue

To make this flower planner bookmark, I painted a flower onto the page of an old book using gold acrylic paint. (I found this in the craft section at Target, but most craft stores carry metallic acrylic paints too.)
Let the paint completely dry and then use the gel pens to add detail and accents as shown. Cut the flower out. Affix the paper flower to the paperclip using a dab of hot glue. You don’t need very much!
Option Two
You will need:
Watercolor pencils
White glue
Paintbrush/water
Old book pages or other paper
Paperclip(s)
Hot glue gun and glue

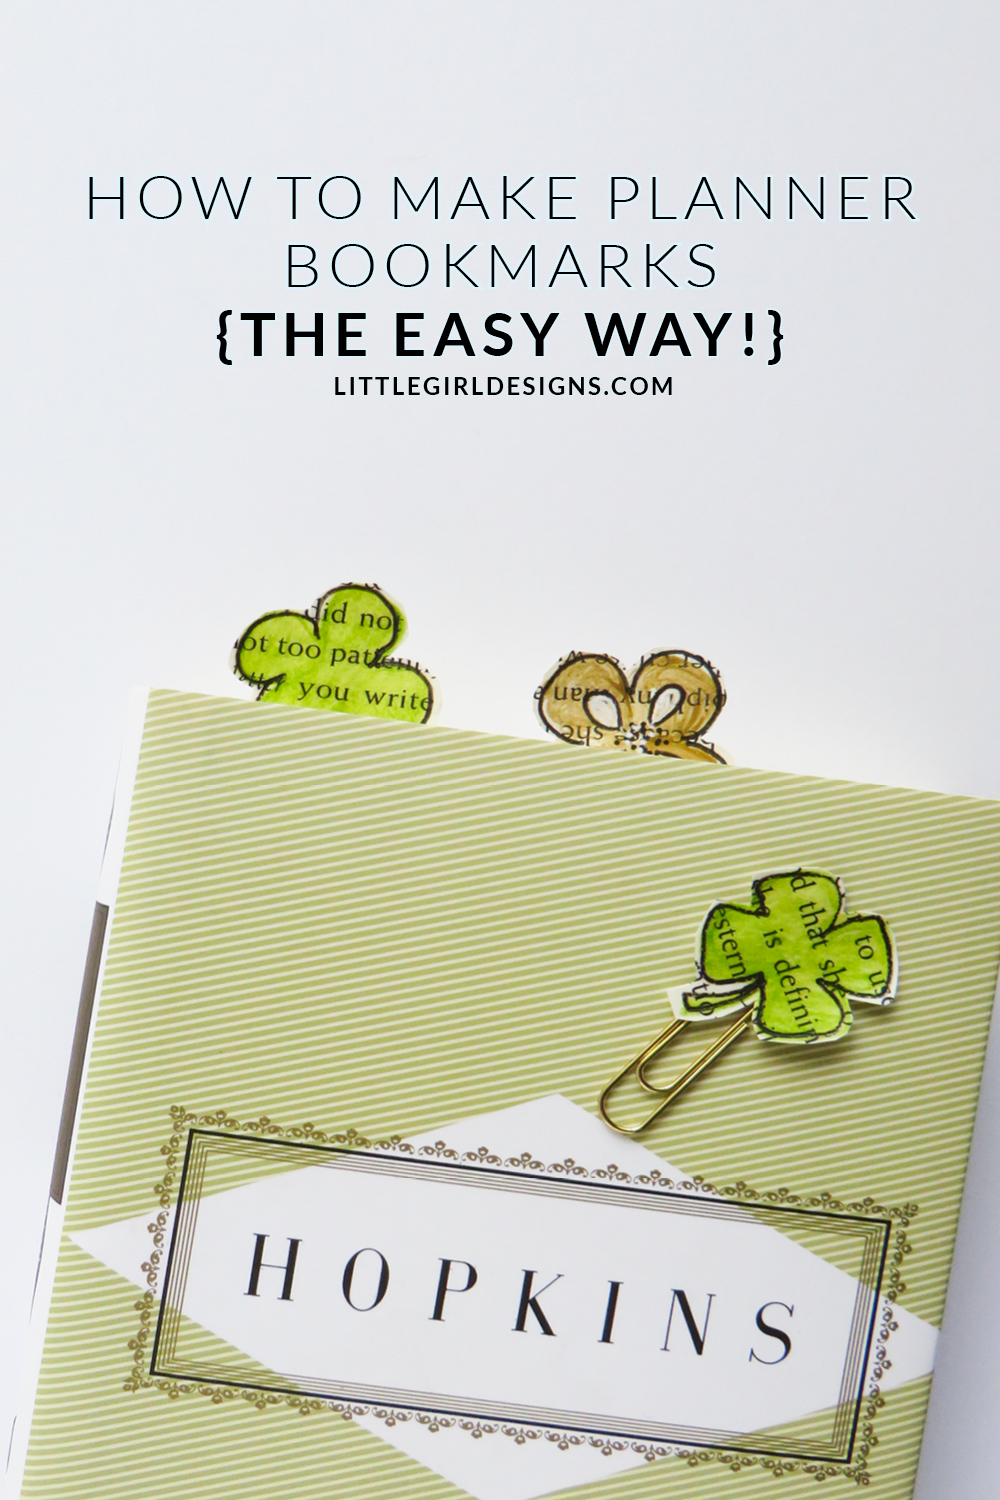
For this slightly more sturdy option, I first drew shamrocks onto an old book page with my watercolor pencil. I then painted water onto it for the watercolor effect. (Paint the bare minimum of water so the paper won’t curl.) When the water was dry, I took a dot of glue and smeared it completely over the design.
I let the glue dry completely and then cut the shamrocks out. I recommend cutting your designs out last because it can be tricky to work with a small piece of paper moving around when you’re trying to paint and glue it. The glue can also be applied to the backside of the design after the first side is dry if you would like.
Applying glue makes the paper smooth and pliable, almost like a soft plastic. I used to make bookmarks with this method as a little kid. Memories . . . ! 🙂
To finish, cut the design out and affix it to a paperclip with the hot glue.
(P.S. Get more inspiration for book page art here.)
Option Three
Follow the instructions for the two options above but before you glue the pieces onto the paperclips, place them in a laminating sleeve and laminate them. (I love, love, love my little laminator!) I recommend adding a tiny piece of double-stick tape to the back of each bookmark top so they won’t slide around in the sleeve. Since laminating pouches tend to be 8.5 x 11 inches, you can make a LOT of bookmarks with this method.
When you cut them out, be sure to leave a small edge around the paper so the plastic will stay sealed. Glue the design to the paperclip with a hot glue gun, and you’re finished.

The possibilities for designs for planner bookmarks are as limitless as your imagination. 🙂 What I love here is you can truly make something that is unique to you. As mentioned in the picture above, if you do choose to make a more “complicated” design, add a border so you can easily cut it out. This will also protect your design from being bent right away.
Have a lovely {and creative} day!