
 My daughter is suddenly into counting so I thought I’d make a little book for her. There are hundreds of counting books out there, but it is always sweet to make something for your little one. If you don’t have a munchkin, this would be a unique baby shower gift.
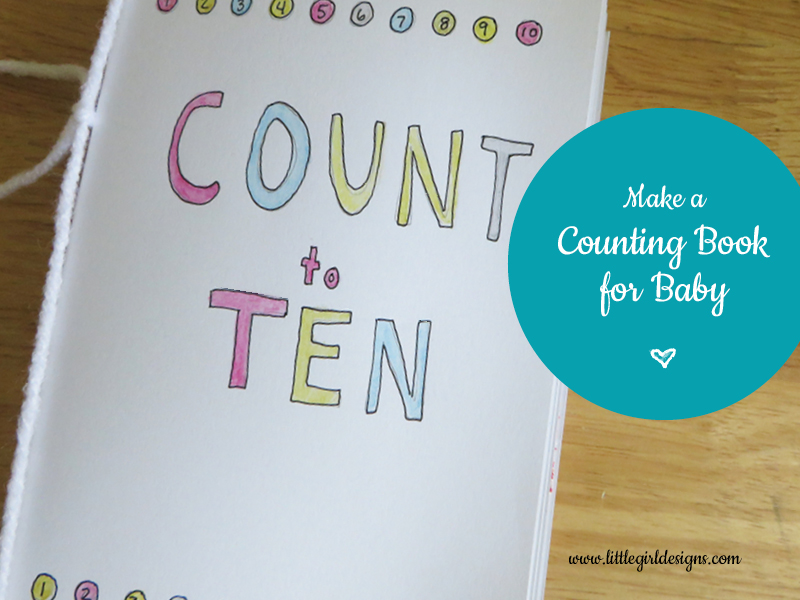
Making a counting book turned out to be super simple (my favorite kind of project.) If you’re a mom, you’ll probably be able to whip it out within a few naptimes. I recommend starting with counting from one to ten mostly because I like to get things done and have a finished product in my hands (rather than one languishing in the my craft bag.) But if you’re inspired to make more pages, go for it! Okay, let’s make a counting book!
What You’ll Need:
6 white blank cards
pencil
stapler with staples
rubberband
yarn
supplies to illustrate and decorate book: pens, colored pencils, glue stick, magazines, scissors, etc.)
- First, brainstorm how you want to illustrate each number. Think about choosing things your baby is familiar with already. You can draw pictures, cut images out of magazines, or glue small objects that are flat. You could also cut circles of colored paper for each number (“one red circle, two blue circles, etc.”) If you choose to glue actual items into your book, you will need to glue these objects down well so they stay put. And I’d highly recommend supervising baby while they read the book just in case they try to pull those wonderfully tactile pieces off.
- To make your book, gather your cards together placing each one inside the next card until you have an unbound ‘book’. Hold the cards together by placing a rubberband over the spine. Now take your pencil and lightly number each page: “cover, page 1, illustration 1, page 2, illustration 2, etc.” all the way to the back cover. You might even want to write what you’re going to draw or glue for each number. For example, I wrote “cat” on the right page for number one to remind myself I wanted to make a cat for number one.
- Okay, now it’s time to have some FUN! Take the rubberband off and lay your cards out flat. You’ll notice your numbers will be jumbled up with the individual cards, but this will be remedied once you put the book back together. Pull out those magazines, scissors, and pens and start creating. Have fun! Baby is going to LOVE this book.
- Put it all together. You may need to let the pages dry if you used glue or watercolors, so let them dry completely first. Then, reassemble the book like you did in the beginning. Double-check that your numbers and illustrations match. I usually wait until now to erase my pencil marks. Staple the spine and tape the staple to protect baby’s fingers. You can also wrap a piece of yarn around the spine like I did, but know that you’ll also need to staple it because the yarn is just to make it look cute.
Well, there you have it. A completely original counting book made by you. I have a feeling baby is going to LOVE this book because it was made with love.
p.s. You also might want to check out my post on How to Make a Silhouette of Baby—you won’t believe how easy it is!