
Learn how to make an art journal cover with this sponsored post by DaySpring; the tutorial and opinions are my own. To learn more about DaySpring’s Illustrated Faith line, please click here.
Usually when we think about art journaling, we picture the insides of the journal—pages filled to the brim with paint, color, and words. But don’t discount the outside covers of your art journal. The front and back covers are blank canvases in their own right. Since they’re made of thicker paper—usually cardboard—you can add paint and layers without worrying about warping the pages.
DaySpring (the company that sent me the supplies used in this tutorial) now has an entire line of scrapbook papers, stickers, washi, and all kinds of art journaling and creative goodness. Whether you’ve hopped on the Bible journaling train, enjoy art journaling in a sketchbook, or are a scrapbook maven, there’s something for you. It literally felt like Christmas the day I received this box. I’ll walk you through some of the supplies they offer and then dive into the tutorial.
A Brief Tour of Illustrated Faith Goodness
The prettiest washi I’ve ever seen. 
Lots of papers and stickers to choose from for my art journal cover. These are from the Whatever is Lovely and She Blooms collection.

So many decorative pieces to add to artwork, journals, cards, and more! I’m definitely going to be making some homemade cards with these.

A closer look at the sticker page, because the tabs are so cute!

I love how bright, vibrant, and encouraging their products are. There are so many projects I could use this collection on, but let’s get to the art journal cover tutorial for today. 🙂
How to Make a Simple Art Journal Cover
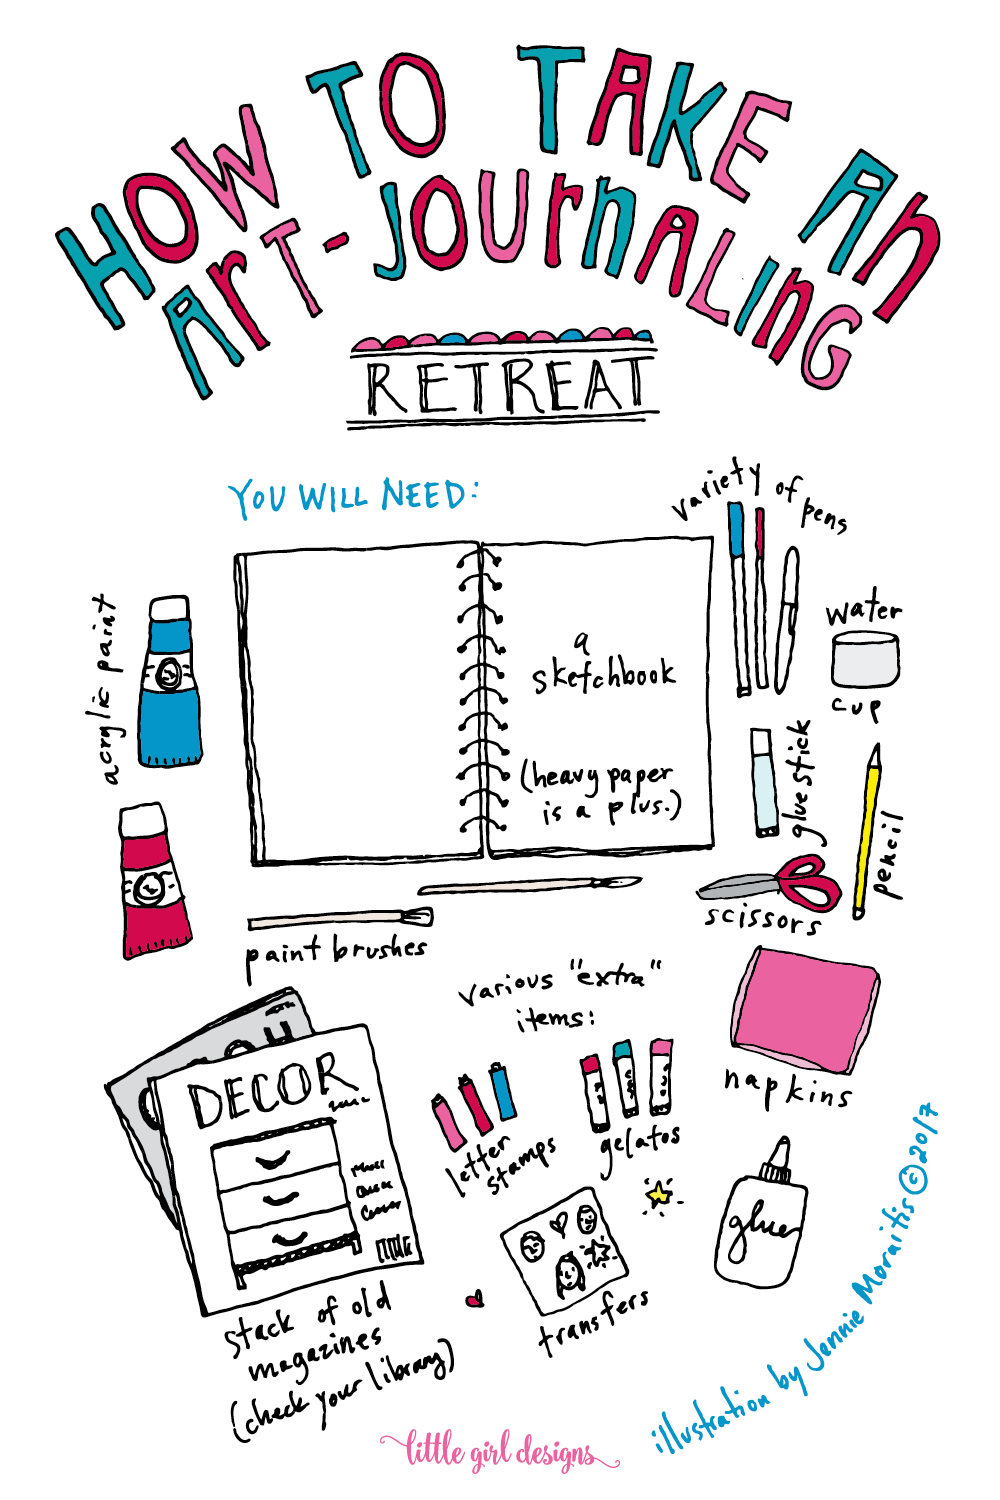
You will need:
One sketchbook (I use Canson Mix Media Journals)
White gesso or white acrylic paint
Paintbrush (or foam brush) for gesso
Watercolors (or acrylics—see “Note for Newbies” below*)
Watercolor brush
Scissors
Washi tape
Scrapbook papers
Stickers
Glue or adhesive
Mod Podge
Black gelly roll pen

Paint one to two coats of gesso on the sketchbook cover. Let dry completely. You might be able to see the cover a bit, but I like that layered look. If you don’t, just add more paint. 🙂
For more texture, use a large brush and load it with gesso before painting. Texture is your friend so don’t be afraid to get creative.

Once the gesso is completely dry, pull out the watercolors and paint part of the journal as pictured. This is where your texture will shine. The watercolors will collect in the ridges and add personality to your art journal cover. I like to use really opaque and bright watercolors; you can also get this look by using gouache or even watering down acrylics.
*Note for the newbies: Watercolor and gouache are activated by water. Kind of obvious, but you’ll want to keep this in mind if you intend to seal the journal with Mod Podge at the end of this process. If you do want a more matte finished look, I’d recommend using watered down acrylics which won’t re-activate when you use Mod Podge on them at the end. Otherwise, you can use a spray fixative or leave as-is.

Let the paint dry completely. Now it’s going to get really fun! It’s decoration time. 🙂
Tear a piece of washi and press along the edge of the art journal. Half of the washi will be on the inside flap and half on the outside.
Now it’s time to choose what you’d like to have on the front of your journal. It’s time to play!
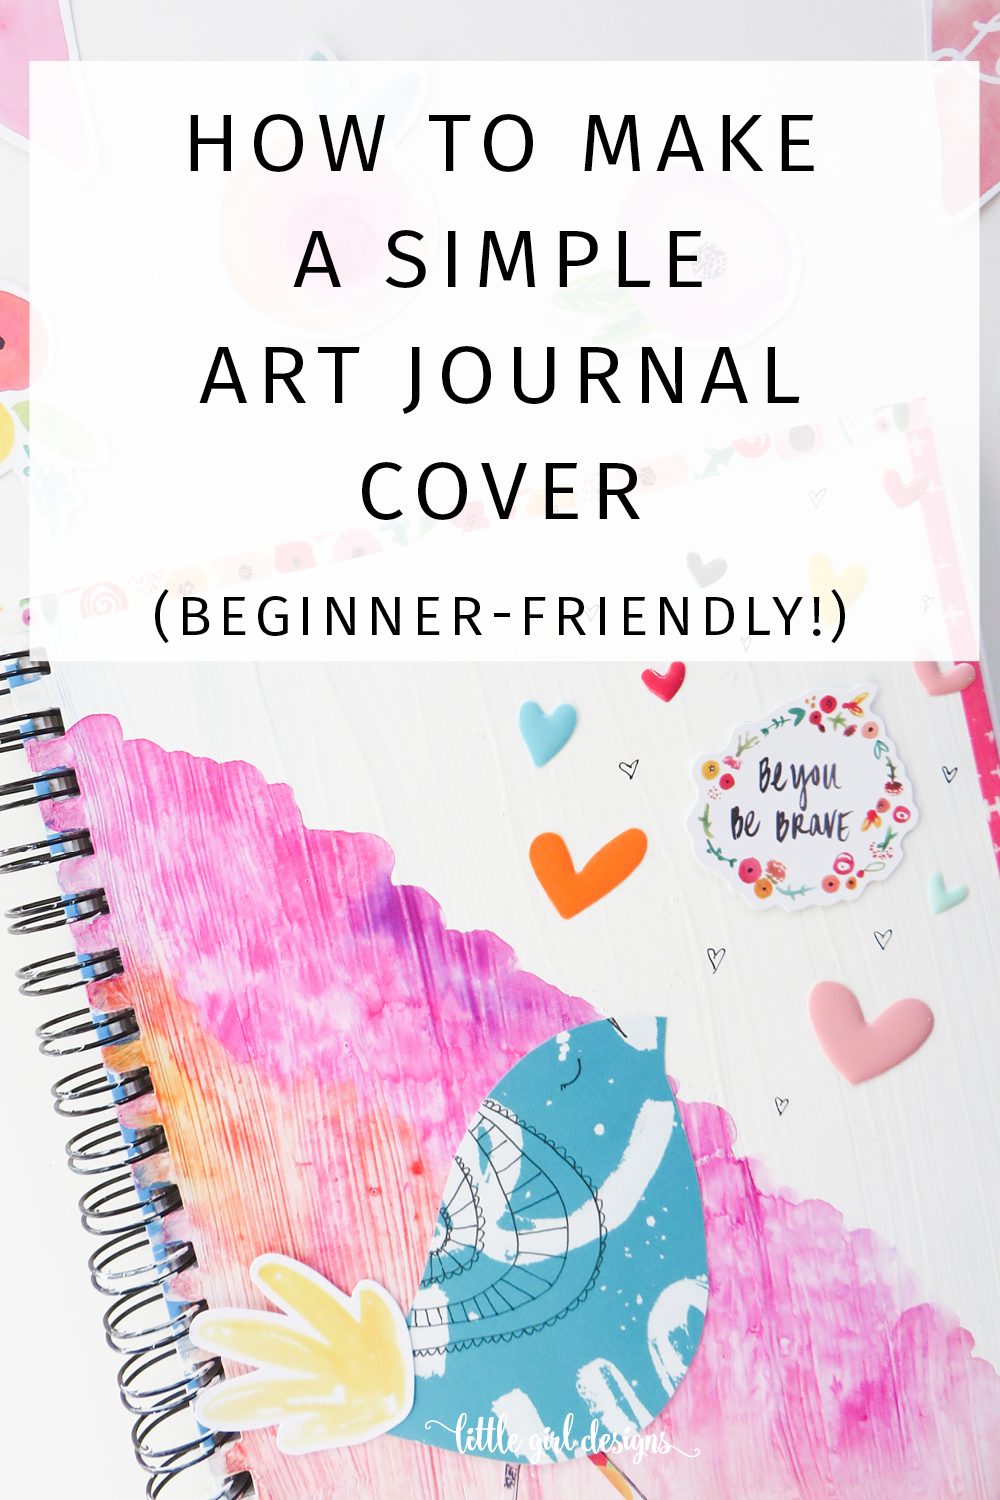
I decided to cut a bird out of one of the scrapbook papers and chose a couple more elements as well. I cut legs out of one of the smaller papers.

Take some time to play around with the placement. Once you get it the way you want, glue the bird down as shown. I also added some pretty heart stickers.
At this point, you have a choice. If you used acrylics, you can seal the project with Mod Podge by painting over each of your paper elements. (If I chose this method, I would wait to add the stickers until the end.) I personally didn’t care about sealing, so I glued everything down with adhesive. Mod Podge will dry matte and is a great surface to doodle on and add final details.

Finally, I pulled out my gelly roll pen and added details to the bird and page. You can add additional words, doodles, or whatever you’d like. It’s your journal!
(P.S. You can really see how luscious and rich the watercolors are in this picture with the background texture. And those 3D heart stickers—love!)

There you go. Making an art journal cover doesn’t have to be difficult. 🙂 In fact, it’s a great activity to do on a Friday night when you’re winding down from the week.
DaySpring has created all of these paper elements for use in Bible journaling, so you can take this design to the margins of your Bible as well. If you’ve never heard of the idea of Bible journaling, you’ve got to check out the Illustrated Faith Instagram account. You’ll be so inspired at the possibilities!

I hope this post inspires you to try out art journaling. It’s such a great way to express yourself and to keep a record of your life in pictures.
Have a lovely {and creative} day!
P.S. Check out the DaySpring’s entire line of creative goodness here. They have so many collections that would make great gifts for you and your friends.

6 responses to “How to Make a Simple Art Journal Cover”
Thanks Jennie – I’ve been waiting for a coupon code – hope to place an order this weekend!
Love the art journal you created using your Illustrated Faith products!
Have you seen the new THRIVE Bible Journal from Tyndale that I’m giving away at Create With Joy?
Hope you’ll stop by and enter – it’s the perfect backdrop for these beautiful products!
Have a lovely weekend! 🙂
Oh wonderful! I almost forgot to include the code in this post, so I’m glad I went back and put it in. 🙂 (It’s only good until 5/22—just so you don’t have a surprise if you order later!)
No, I hadn’t heard of the THRIVE Bible Journal but am intrigued. I’ll definitely stop by your site to enter. You always have the best giveaways. (And I love seeing the pictures of your pretty cats too—remind me of the kitty I had as a little girl.) Hope you have a great weekend too! 🙂
Beautiful as always! I love your style and how you used so many lovely colors and layers to create the final cover. I think my favorite part at the little bird details in your signature style. Way to make it YOURS!
Thank you so much, Lauren! I was going to do another design and then thought, “Who am I kidding? I have to make a bird!” haha Those papers were so much fun to play with—felt like Christmas. 🙂 And my daughter LOVED the stickers. I was processing the photos on my computer in the other room and came out to find her having a great old time sticking them everywhere. I’m sure your daughter will discover (and LOVE) your art supplies very soon! 🙂
Hi Jennie – I love your art journal cover! I have been making art journals for a long time, but mine tend to be rather complicated as I overthink everything I do in life, it seems! It is wonderful to see a tutorial inspiring us all to give it a try and make art. Thank you so much for sharing this with your readers. I featured this on my blog today here: http://vintagemamascottage.com/2017/05/23/6-amazing-diy-ideas-for-spring/ If you have a minute please stop by and take a peek at my art journal that I’m working on this spring. I’m also doing a step-by-step tutorial, and it is so fun to see the different ways that we all create art. Hope you are having a good week and I hope to catch up with you again at the #HomeMattersParty Nina @ Vintage Mama’s Cottage
Thanks for stopping by, Nina. I love how creative your art journals are—it looks like you’re having a lot of fun! 🙂